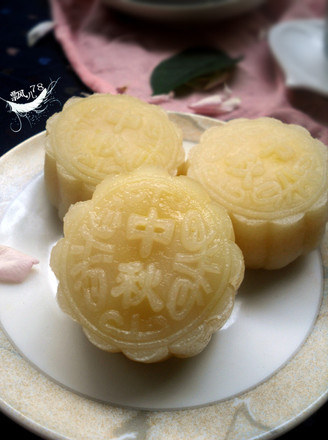
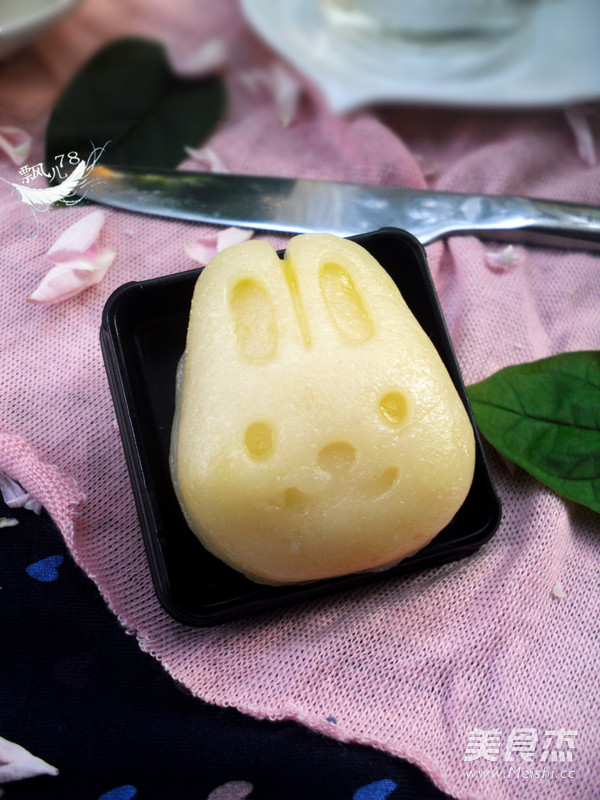
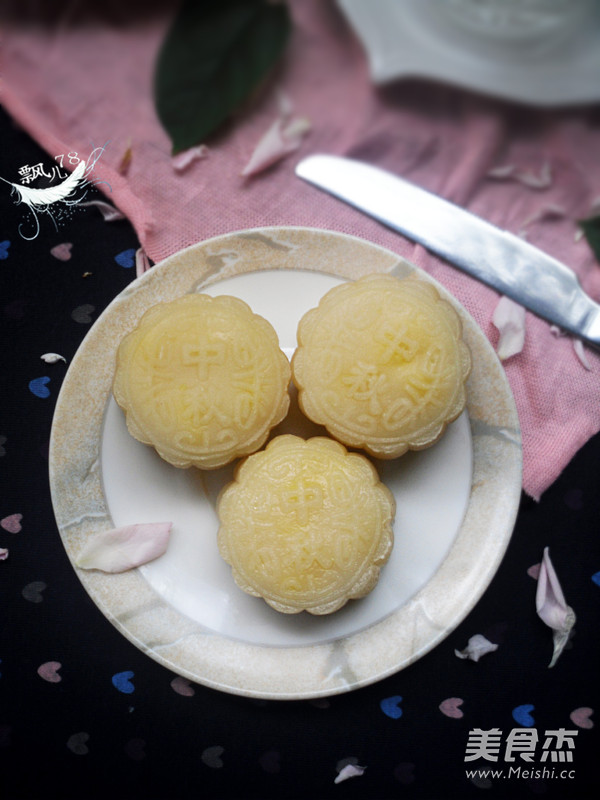
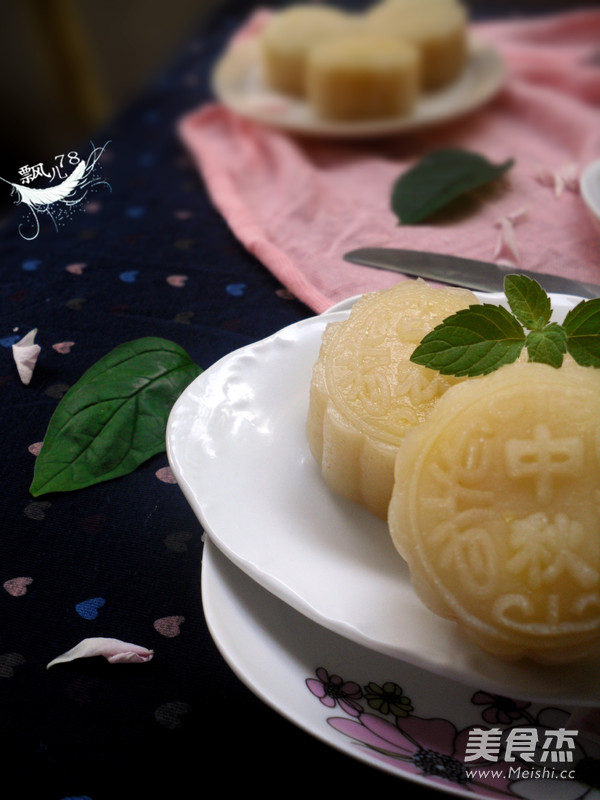
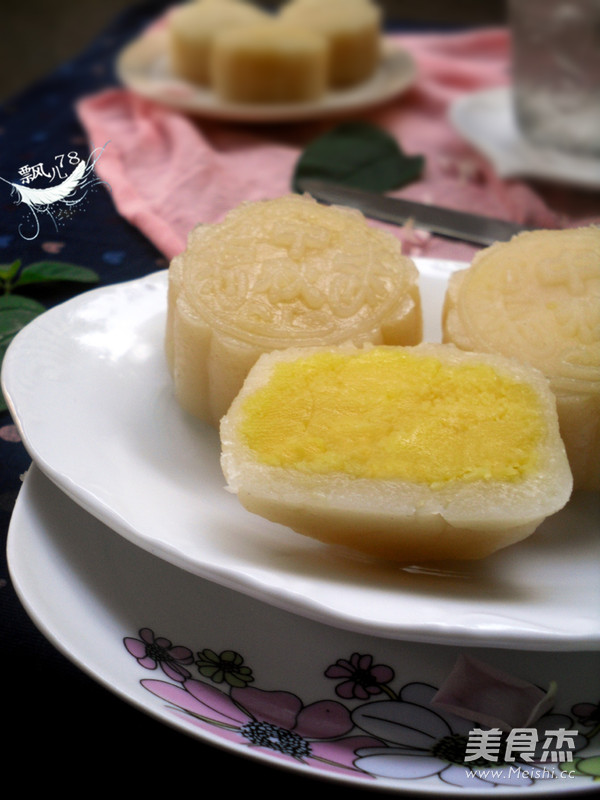
冰皮奶黄馅月饼
- 蒸

- 奶香味

- <数小时

- 新手尝试

第一次尝试做冰皮月饼,但做出来的效果跟别人做的冰皮月饼不一样,感觉有点硬不够软,不知道是不是在水磨糯米粉和水磨粘米粉这个环节出错,以前做过糯米滋,用的是水磨的糯米粉,那味道很不错的,我以为加入水磨的会比较好点,想不到有点出了我意料之外,看来下次要用的是糯米粉和沾米粉尝试一下了。
展开
冰皮奶黄馅月饼营养建议
-
含糖量 26.74克高血糖 尽量不吃
-
高血脂 控制少吃
-
高血压 控制少吃
-
减肥 尽量不吃
-
儿童 控制少吃
冰皮奶黄馅月饼的食材2人份
- 糯米粉50克
- 纯牛奶165克
- 粘米粉45克
- 炼奶30克
- 澄粉47克
- 色拉油30克
- 糖粉80克
- 鸡蛋2个
- 黄油50克
- 吉士粉10克
- 熟糯米粉10克
- 奶粉25克
展开
冰皮奶黄馅月饼的做法
1

2

黄油50g室温软化后用打蛋器低速打到顺滑
3

加入糖粉50g打至发白
4

加入鸡蛋2个搅打均匀,加入纯牛奶120g拌匀
5

澄粉20g,吉士粉25g,奶粉25g倒在一起
6

过筛入黄油里拌匀成面糊
7

上蒸锅隔水蒸20分钟左右,中途最好拿出来再打一下再蒸
8

蒸好后趁热搅散,然后至不烫手的时候揉成光滑的面团状,包上保鲜膜,放入冰箱冷藏1小时以上
9

盆里倒入水磨糯米粉,水磨粘米粉,澄粉27g,糖粉30g,纯牛奶120g,炼奶30g,色拉油30g拌匀成面糊
10

然后倒入筛里过筛
11

隔水蒸25分钟左右
12

蒸好后搅拌降温
13

稍冷却后将面皮和蛋黄馅分成同等分
14

面皮压扁,包入奶黄馅
15

然后收口搓圆
16

模具上洒上少许熟糯米粉
17

将冰皮月饼放进模具里压紧
成品图
冰皮奶黄馅月饼的烹饪技巧
蒸奶黄馅中途拿出来打一下再蒸会比较顺滑点
将奶黄馅包上保鲜膜放进冰箱预防奶黄馅变干
版权声明:
除非特别标注,否则均为本站原创文章,转载时请以链接形式注明文章出处。
冰皮奶黄馅月饼标签:冰皮奶黄馅月饼的做法 冰皮奶黄馅月饼的家常做法 冰皮奶黄馅月


快乐的猫
评论列表
真的是厉害啊,爱了爱了
2021年06月15日 13:07