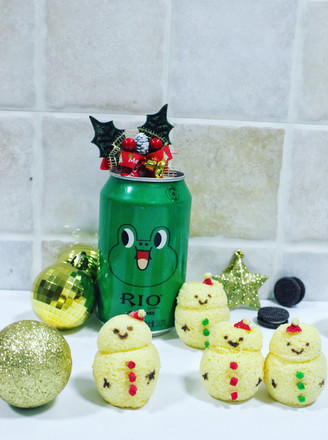
雪人戚风
- 烤

- 甜味

- <90分钟

- 中级掌勺

make a wish 寒冷的冬天因为有了圣诞节而变得格外热闹, 一款雪人戚风,加了点色彩,希望这个圣诞节更温暖。
展开
雪人戚风营养建议
-
含糖量 7.42克高血糖 控制少吃
-
高血脂 建议多吃
-
高血压 建议多吃
-
减肥 控制少吃
-
儿童 建议多吃
雪人戚风的食材2人份
- 鸡蛋1个
- 细砂糖(蛋黄糊)8克
- 植物油5克
- 低筋面粉20克
- 玉米粉5克
- 牛奶12克
- RIO锐澳水果鸡尾酒10克
- 细砂糖(蛋白霜)12克
- 色素(红、绿色)适量
- 黑巧(装饰)适量
- 蛋壳6个
- 棉线6根
展开
雪人戚风的做法
1

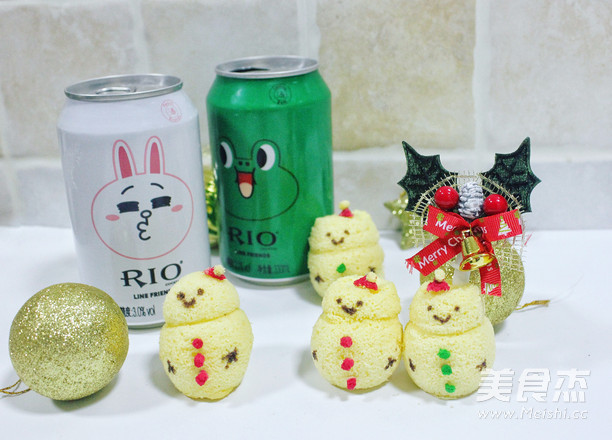
准备好所需的材料。rio蓝罐出境,也是这款戚风的小亮点
2

鸡蛋打散后加入植物油、牛奶和rio绿罐混合均匀
3

筛入低粉翻拌均匀
4

准备打发蛋白
5

加入白砂糖打发
6

混合蛋黄糊跟蛋白霜
7

混合均匀
8

事先准备好留个蛋壳,要用热水消毒后再用
9

把蛋糕液挤入蛋壳内,七八分满
10

剩余的蛋糕液均分三份
11

加入红绿色素
12

烤箱130度15分钟左右
13

取出晾凉后剥开蛋壳
14

用棉线将蛋糕体勒成两半,等待十分钟左右
15

有颜色的蛋糕用吸管口切成扣子状,红色切成帽子
16

用黑巧给蛋糕画上表情
17

扣子沾点黑巧粘好
18

帽子做好
19

全部组成的样子
20

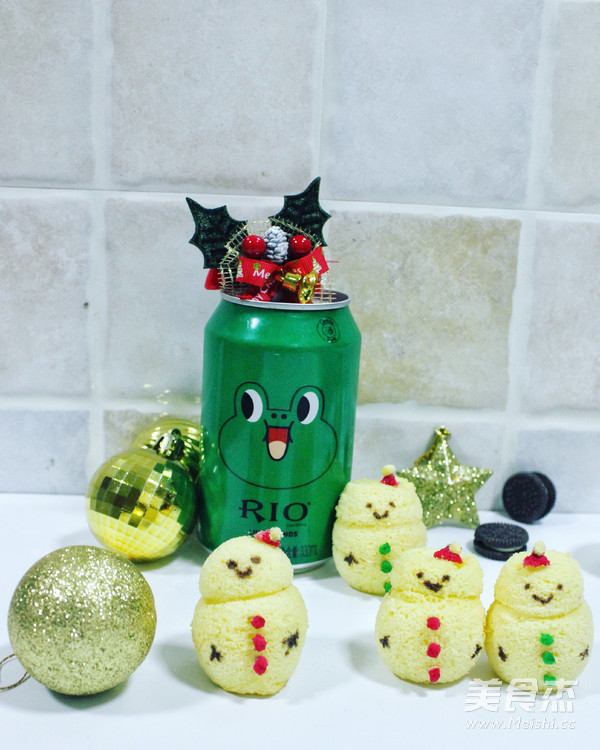
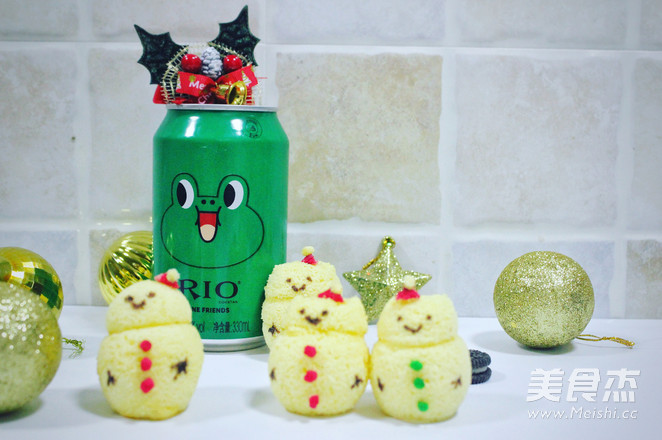
成品
成品图

雪人戚风的烹饪技巧
1蛋壳提前准备好,一定要消毒后再用
2蛋糕液不要装满否则会溢出来
3烤箱根据自己家的调节下温度时间,有颜色的蛋糕可以晚点放入
4因为戚风蛋糕有弹性,所以用棉线勒可以稍微紧点,上下最好有个大小区分好看点
5雪人粘帽子跟扣子的时候最好用白巧克力,没有的话也可以用美乃滋,我就顺手用了黑巧(小心点不要溢出黑色即可)
版权声明:
除非特别标注,否则均为本站原创文章,转载时请以链接形式注明文章出处。
上一篇上一篇:香酥曲奇蛋挞 不开酥
下一篇下一篇:植物油香葱司康


快乐的猫
评论列表
真的是厉害啊,爱了爱了
2021年06月15日 13:07